How To
Whiskey Distilling: Stages and Tips
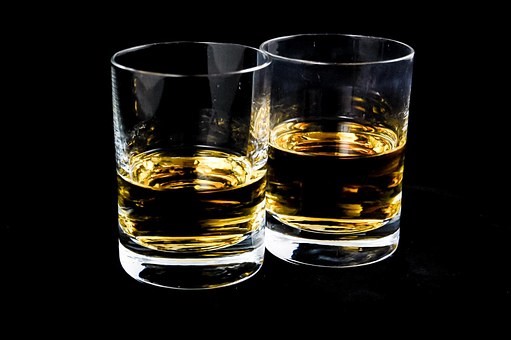
 If you are new to the process of producing good quality whiskey, you may be wondering where to start? What may initially seem like a long-winded and complicated to master process is indeed worth taking the time to learn from, mainly when the result derives in that perfect bottle of your very own whiskey drink!
However, to get to this final stage, you need to make sure that you follow the best method, similar to those in the big named distilleries if you are after some of the most significant effects in your beverage. By mastering the primary whiskey distilling stages, you could soon be distilling your high end and high-quality fantastic tasting whiskey in no next to no time at all.
There is a three-stage process involved to distilling the water needed for that perfect glass of whiskey, including mashing the water, reducing the water and cooling the water, which will give you that competitive edge when brewing this beverage for yourself on a larger scale – perfect for those working in the beverage industry.
Stage One: Mashing the Water
The first production stage of separating the water to be used in whiskey is the mashing stage. If the water quality is right here, you can just treat it as you would do when brewing water at this point, adjusting where appropriate.
The level of alkalinity is more important here with your water needing to be, at its best, less than 50ppc which is the lowest alkalinity. Aim to ensure you have a figure of under 100ppc at the very least.
You may discover that several Scottish distilleries tend to keep the water as they find it, but it is worth noting here that there are many areas of water which they take from, and many which have a better quality to initially start the whiskey process with.
There is also a need to keep a check on the waters calcium ion level here. If you can adjust the water, it will help the fermentation process if you can get this level to a minimum of 40ppm, with a maximum of 70ppm. However, you will need to be aware that calcium can be lost in the brewing process, up to around 50% in some cases.
For iron levels, the figure here to aim for is 0.2ppm but most certainly under 0.5ppm where possible. It is vital to look at attempting to remove iron content not just because of reasons such as oxidation as such, but also because iron is the cause of your spirit darkening in color.
As previously stated, some distilleries prefer just to use the water from the local taps, rather than use distilled water. This because they believe it to be of little significance when it comes to the mineral content. However, unless you are confident that your local water source can offer you the right amount of suitable minerals for your whiskey, you will have to look at implementing the proper adjustments to get this mineral level just right to brew your whiskey successfully.
The difficulty here is getting the level right manually as some select minerals do need to be present in your water here. This is because they are required for the fermentation process for the yeast. Such minerals here will include calcium, magnesium, and zinc and they can either come from the raw materials which you use in this process, or from the yeast nutrients.
Most experienced distillers believe that it is possible to get such nutrient requirements all from the grain bill used. However, for the best results, it is advisable to speak to the yeast supplier and get their take on this beforehand to make sure you are on the right track at this point.
 This is particularly so if you discover that your yeast is under-performing during the fermentation process and you need to look at using a more standard nutrient mix.
Furthermore, if you are concerned about salt in your whiskey and want to look at adjusting here, there is a water calculator which you can access and refer to online, which tells you exactly how you can adapt your salt to various levels when it comes to the brewing and distilling process.
Stage Two: Reducing the Water (Sometimes Referred to as Diluting the Water)
It is essential during this second stage that your diluted water is purified. This can be achieved by process of either RO, that is reverse osmosis or deionization. Either way, it is undertaken to ensure that any minerals or organics as such present in the water are removed, the presence of which makes a considerable dent on the final taste of your whiskey.
You also need to look out for possible calcium at this stage as well as iron and magnesium ions. Any calcium here will cause problems such as calcium oxalate precipitation, any iron present will once again increase the risk of the whiskey turning black, and any magnesium ions present will add to haze precipitations.
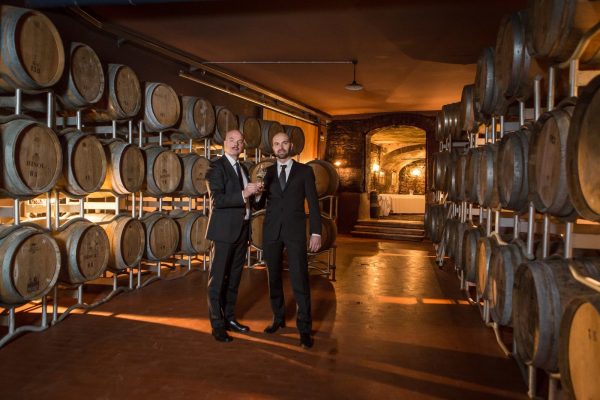
Another point to note here is the intended storage of your distilled spirits. Many distilleries now prefer to use stainless steel containers, as opposed to aging their whiskey in wood. However, it is essential to ensure that such vessels are once again made of the highest quality and kept free of potential minerals.
Back in the sixties, distilleries discovered some problems with the storage of their distilled spirits here including precipitates and of course cloudy spirits. Such issues will usually present themselves as white fluffy matter, meaning precipitates present, or matted and interwoven needles that are long and can be found under the microscope, called raphides.
 Stage Three: Cooling the Water
Finally, when you reach the cooling stage, you will need to aim for a low solids water type. At this stage of the process, you need to make sure that your water doesn’t mix at any point with your spirit. The area and immediate environment in which the bottling takes place should also be free here from any possible microorganisms. This is especially so if you are intending to place any fruit flavors, for example, into your whiskey.
This stage is more common-sense, whereby caution needs to be undertaken to make sure that the entire working area of where your whiskey is produced is thoroughly sanitized throughout the whole distilling process, therefore ensuring the best production of whiskey that you can manage in the beverage industry.
More insights from Adam can be found on wisepick.org.